搭建个人博客
工具:Cloudflare+GitHub+Hexo Fluid
Hexo
hexo 是一个快速、简洁,而且功能强大的静态博客框架。我们可以使用 Markdown 编写博客文章,然后 hexo 帮我们把 Markdown 文件渲染成静态 HTML 页面。因此 hexo 非常适合用来搭建技术类博客,以及项目文档和个人网站。
需要安装node.js依赖
github托管
将博客项目托管到github仓库,并使用Github pages来部署博客,可以让其他人也访问该博客。
Cloudflare
使用cloudflare加速国内用户访问速度。
1 | |
修改Hexo主题
我选择Fluid主题,再加一些个性化的设计,大家可以自行选择。
添加评论功能
使用github utterances插件
md中添加截图
cursor中使用了Paste Image插件。
F1截图之后,Ctrl+Alt+V,直接粘贴到特定目录,并在当前md文档中引用该图片。
多端同步发表blog
从source下载源码
在新的电脑上维护博客时,只需要下载 source 分支,不需要手动下载 main 分支。source 分支保存 Hexo 全部源码,main 分支由 hexo deploy 自动更新,用来展示最终网页。
第一次在新电脑上执行:
1 | |
如果是在 Windows 上使用 Git,建议额外开启长路径支持:
1 | |
以后每次开始写文章前,先同步最新源码:
1 | |
添加blogs
以语雀原生导出的 bloga.md 为例,如果这篇文章属于 2026 年 5 月,就先把文件放到:
1 | |
然后在 Hexo 项目根目录执行:
1 | |
这几条命令会完成:
- 可以一次处理多篇md
- 将裸 md 转成文章包结构:
source/_posts/2026/05/bloga/bloga.md - 将远程图片下载到同级
img/目录 - 将 md 中的图片引用统一改成
img/... - 清理语雀导出的
、空等低价值样式标签 - 对原本带背景色高亮的内容自动保留为加粗文本
- 检查是否还有远程图片、旧图片路径、缺失图片、裸 md 等问题
校验通过后,打开生成后的文章 md,手动修改分类和标签:
1 | |
需要重点修改:
1 | |
Push至github source branch
文章导入和分类标签确认后,先确认自己在 source 分支,再把源码同步到 GitHub:
1 | |
如果 git status 显示当前分支不是 source,必须先切到 source。日常维护源码不要在 main 分支提交,main 分支只交给 npm run deploy:site 发布网页。
本地预览:
1 | |
生成并发布网页:
1 | |
这里需要区分:
git push:保存源码到source分支,方便 Windows / Mac / Linux 多端同步npm run deploy:site:依次执行clean、build、写入public/README.md、deploy,把 Hexo 生成后的静态网页发布到main分支
最终URL:
github:https://jimi-lab.github.io/
cloudflare:https://jimi-lab-github-io.pages.dev/
最终效果图如下: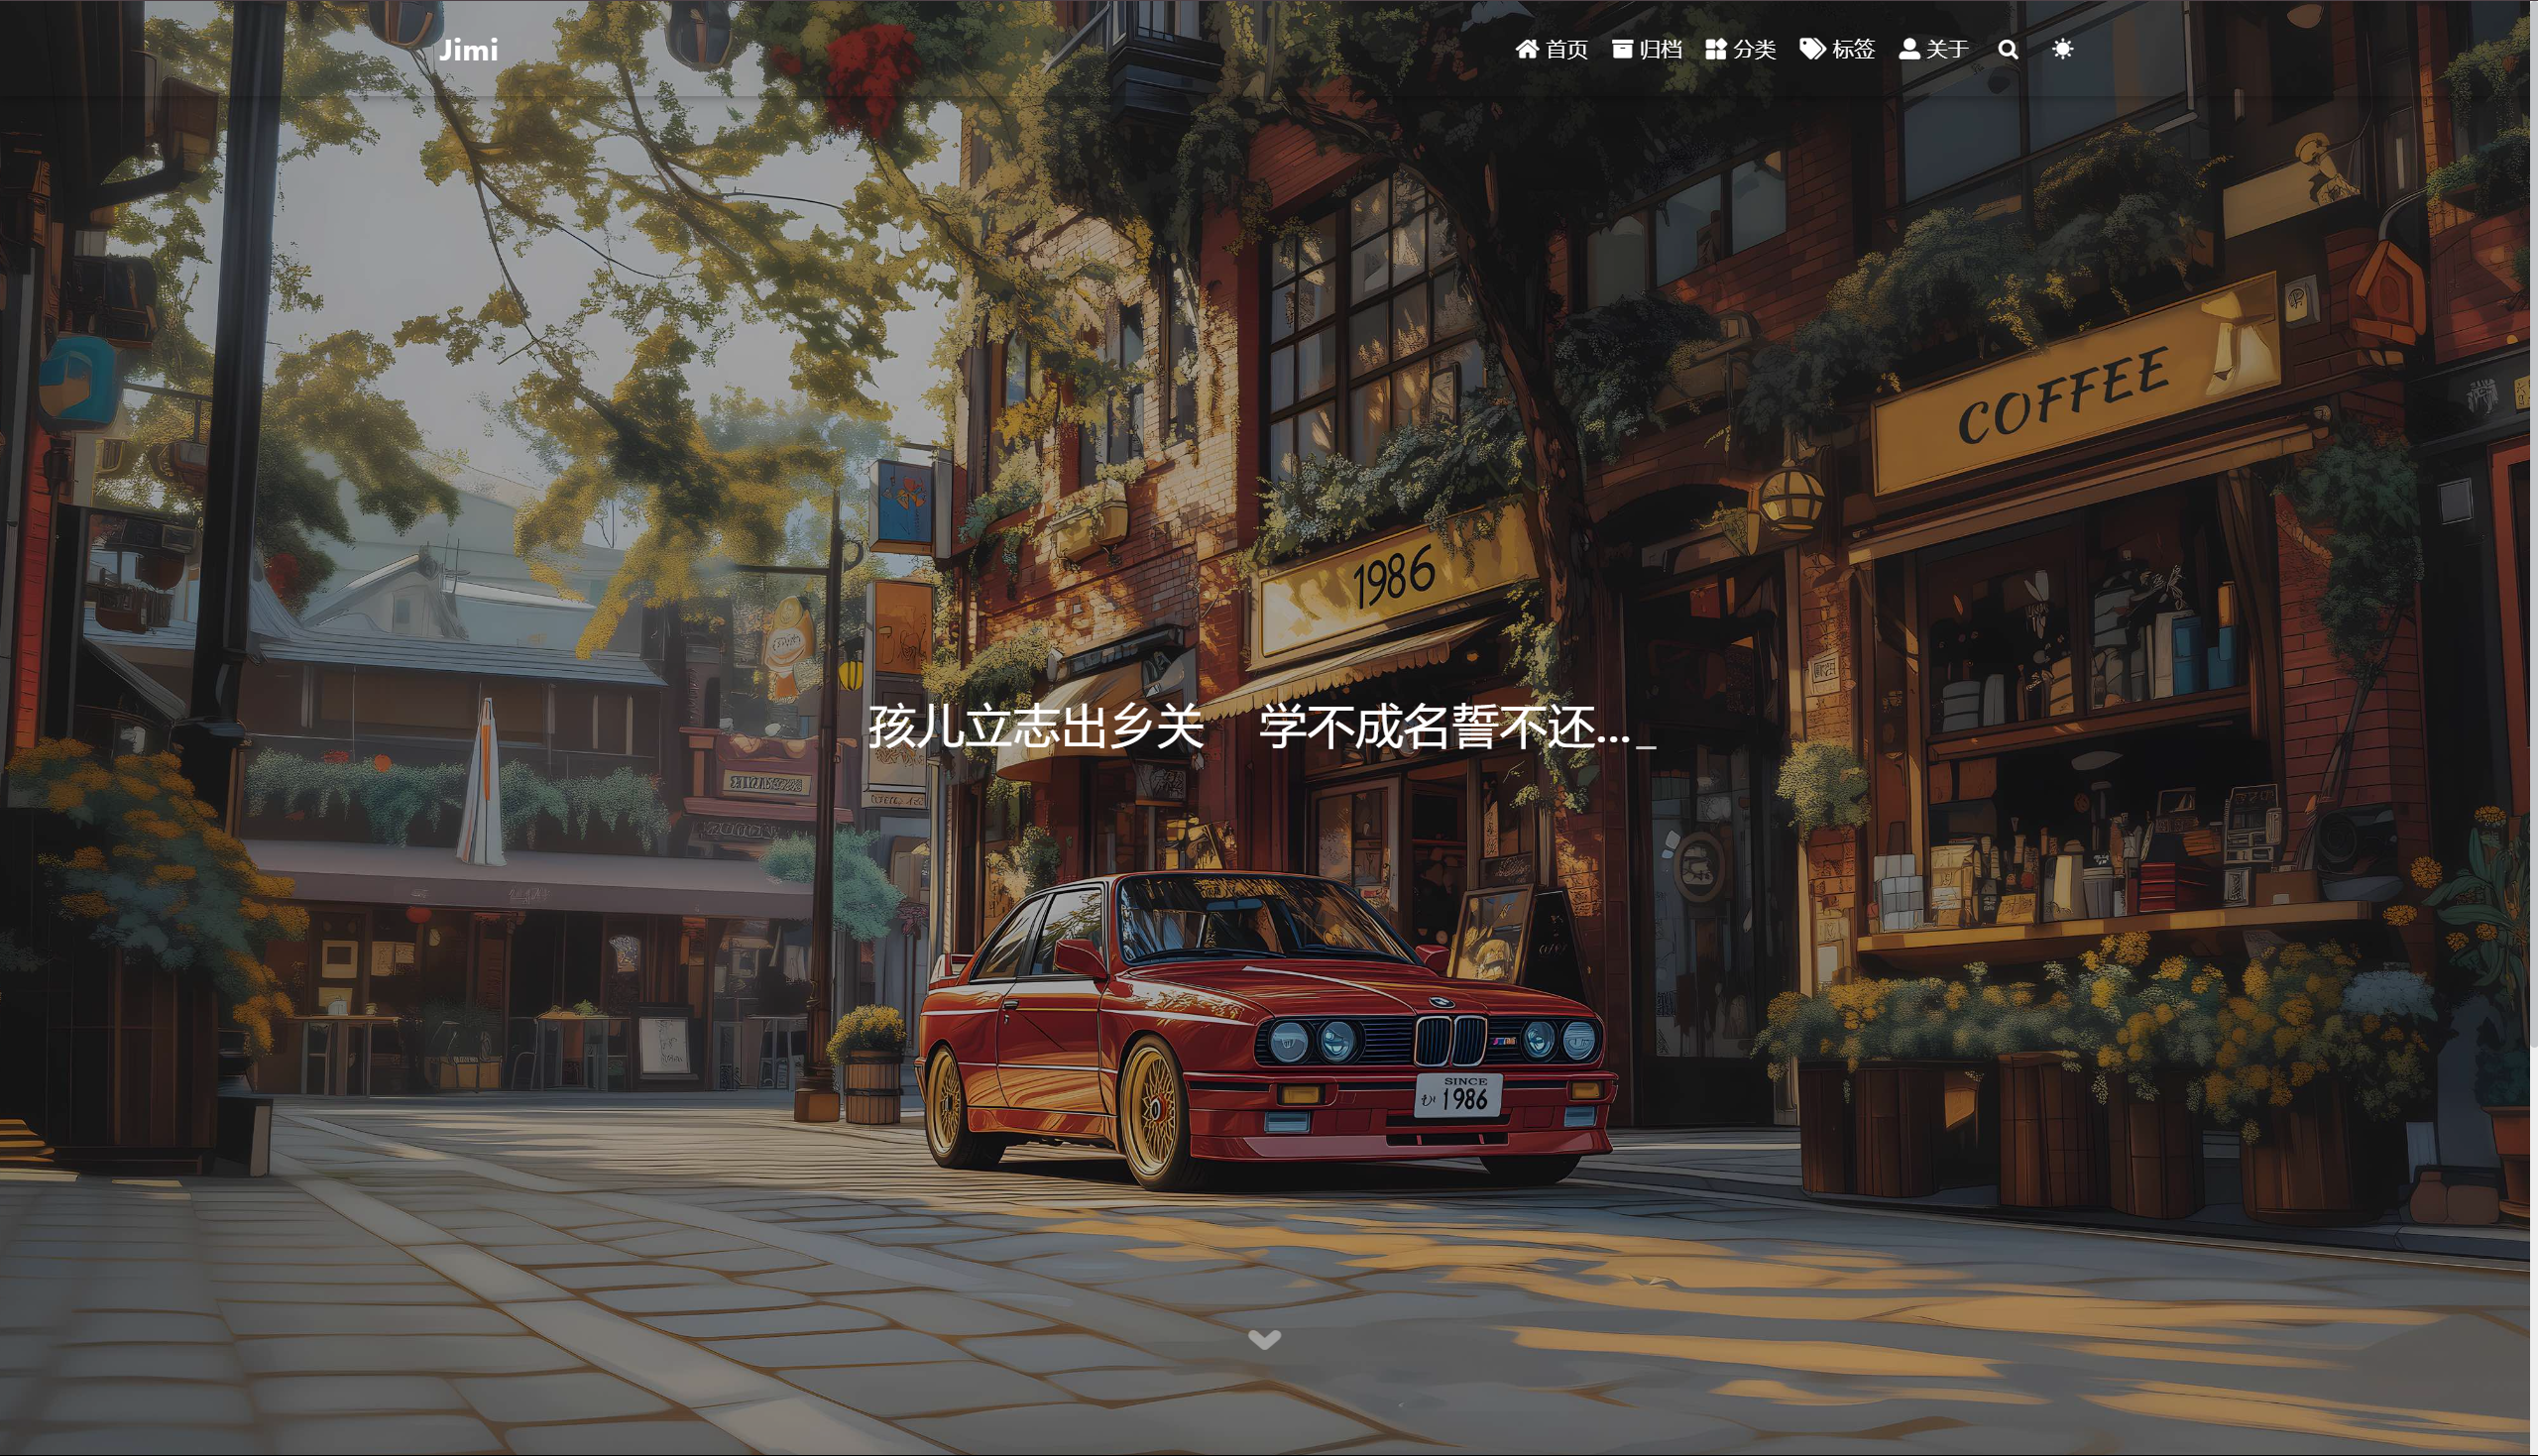
报错信息汇总:
1.如果遇到以下错误:
1 | |
可能是因为ssh连接github时候连接不上报错,可以尝试打开代理/电脑使用自己手机热点/等方法解决。